Introduction
In the previous chapters we implemented a fishing game where we controlled our fishing boat to catch fish and avoid collisions with solid ground objects. During the game implementation we introduced some code to make Main Camera follow the coordinates of our boat so we would be able to see where the boat is headed. However, this is not the best and the optimal way of doing things. Instead, we would like to introduce you to Cinemachine. It is a Unity library that allows us to easily configure cameras and scope of lens without adding any code logic.

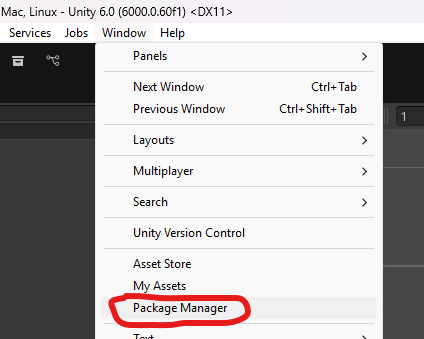
Package Manager
The first thing we need to do is add Cinemachine library to our project. We add different libraries to Unity project by using package manager. We can navigate to it from the menu: Window > Package Manager.
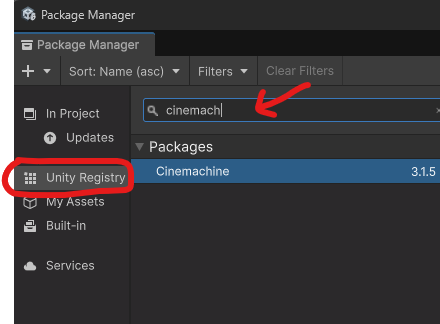
Once inside Package Manager select Unity Registry and search for Cinemachine. In library details click Install.
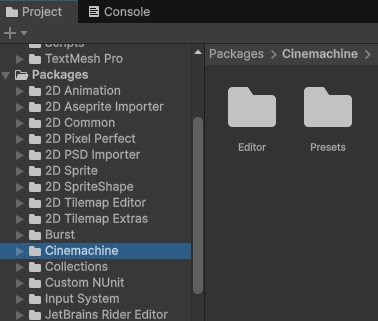
Once installed the library should be added to other dependencies which you can check in Project explorer under Packages.
Camera
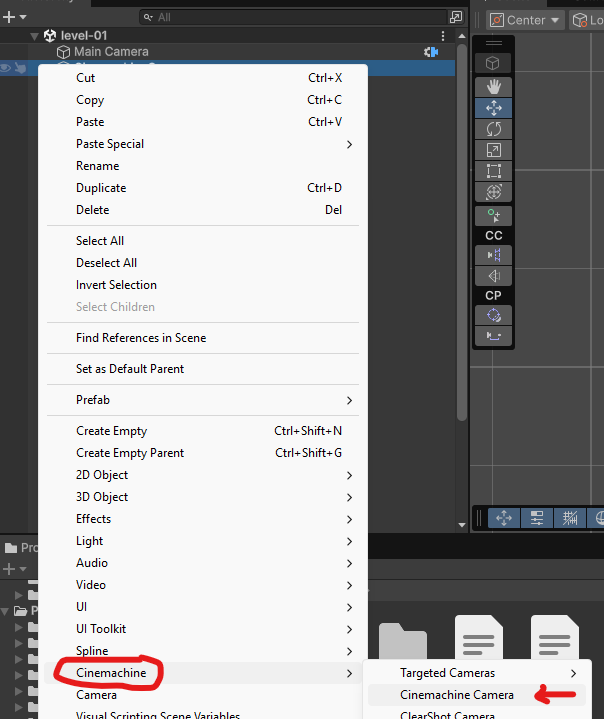
Now we can add Cinemachine camera to our game. To do that do right click in scene Hierarchy and go to Cinemachine > Cinemachine Camera. In your game you will now have MainCamera which will be enriched with Cinemachine Brain component (see in Properties). This means the MainCamera from Unity will be controller for all virtual cameras in the scene. If you select newly added Cinemachine camera, you’ll discover its properties in Inspect tab.
The important properties are:
- Lens - this will allow you to define the proper value for camera scope that you need for your object,
- Tracking Target - your tracking object from the game, in our case it will be the boat that player controls,
- Position Control - this determines how do you wish your camera to track the moving target.
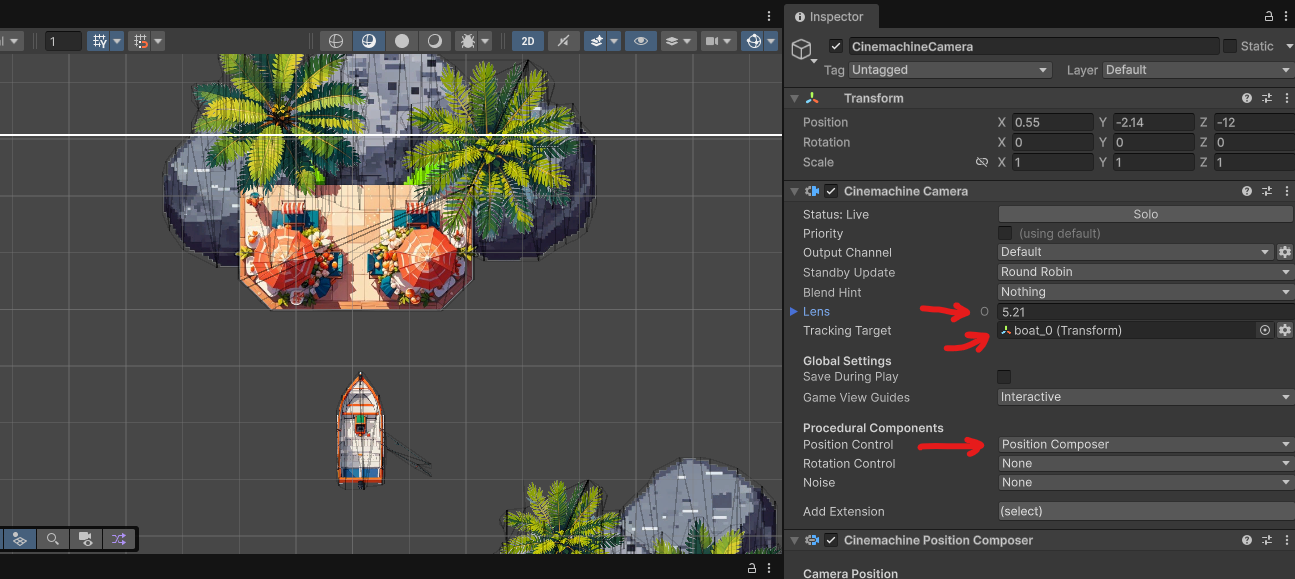
Once these properties are set, you’ll enable camera tracking for your game.
Conclusion
Cinemachine allows us to effortlessly add camera support to our game. By assigning the Tracking Target, the camera will follow the controlled object regardless of what part of screen is visited. For the more advanced scenarios we recommend researching the official documentation of Cinemachine package.